Application of Thermal Cameras in Nondestructive Testing (NDT) of Materials
Various nondestructive testing (NDT) technologies are becoming mature with the scientific and technological progress, and the NDT serves as a necessary means for ensuring product quality and safe manufacturing. Featuring fast detection, non-contact operation, coupling-free testing, quick and real-time testing, large measuring area, and remote measuring, the thermal imaging NDT technology is developing quickly. As the computer digital signal processing technology progresses, the thermal NDT is increasingly important in the NDT field, and the thermal camera is becoming the necessary routine monitoring device.
I. Unique Advantages of Thermal Cameras in the NDT Field
1. The non-contact measuring is adopted for users to read the measured temperature data and directly monitor the detection process.
2. The material reflectance is configurable for the measured objects in different materials, applicable to a wide range of materials with a high accuracy.
3. With the measuring result presented more clearly and directly, users can directly see the infrared image, and the infrared image can be used for secondary analysis and processing.
4. External integration can be implemented. The device supports SDK-based external development to directly analyze the defects and defective causes, achieving the goal of the customer's investment into thermal imaging devices.
II. Main Applications of Thermal cameras in NDT of Materials
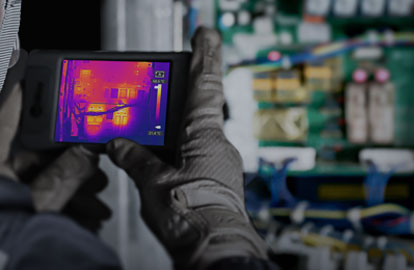
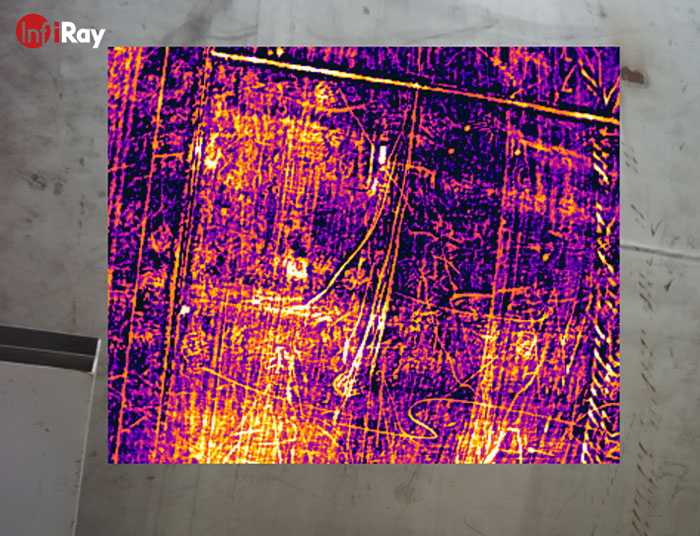
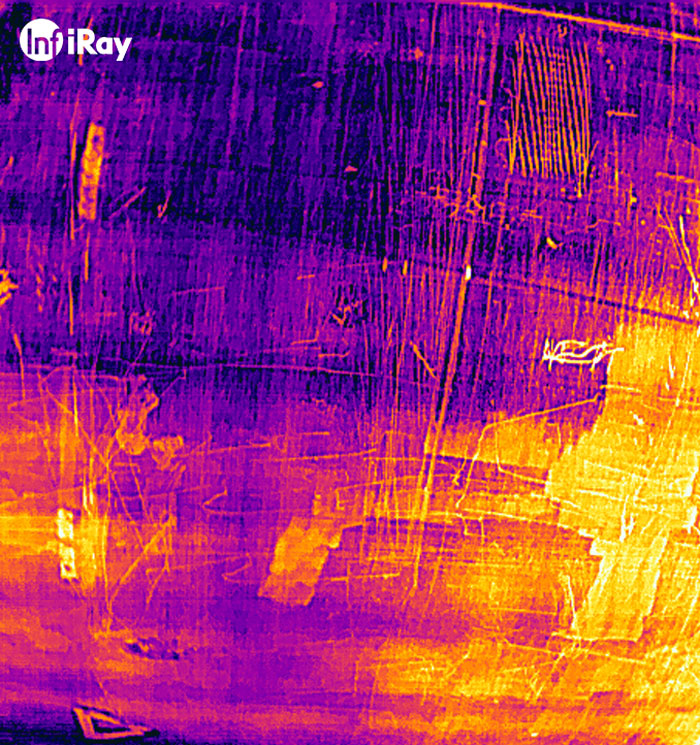
The working principle of thermal NDT is as follows: the thermal NDT device scans and records or observes the thermal radiation of the workpiece specimen. The temperature is different on the surface due to the difference in thermal characteristics between the defect and normal material, and therefore the surface temperature distribution reveals the workpiece defect.
The detection process is closely related to the thermal radiation process. When the workpiece surface is heated, the thermal flow is injected into and then spreads in the workpiece. If there is a defect inside the workpiece, the heat flow will be interrupted. After a period of time, the heat is accumulated at the defect, causing a gradient change of temperature on the workpiece surface, which is a temperature abnormality. Then if a thermal camera is used for scanning the temperature distribution of the workpiece surface, it can be determined that there is a defect on or inside the workpiece when an abnormal temperature point is detected.
There are two categories of thermal NDT technologies: passive testing and active testing.
Active testing: During or a period of waiting after manual heating on the workpiece, the temperature distribution of the workpiece surface is scanned and then recorded.
Passive testing: Whether there are defects is determined during the heat exchange between the workpiece and its ambient caused by their temperature difference. Passive testing is mainly used in testing for running devices, workpieces, or operational electronic components.
III. Recommended Models
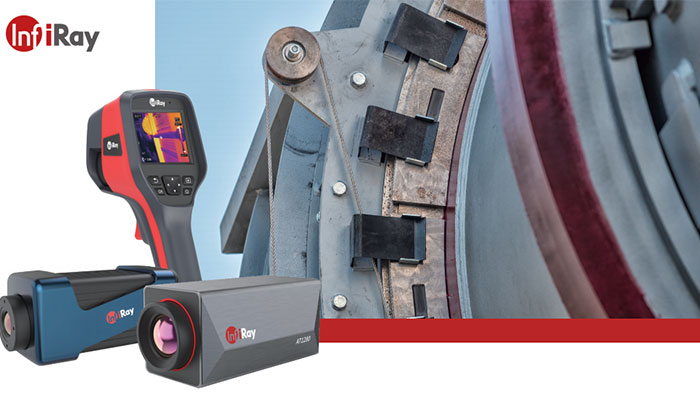
AT61 Electric Focusing Online Temperature Measurement Thermal Camera
Visualize Temperature, To See and To Analyze
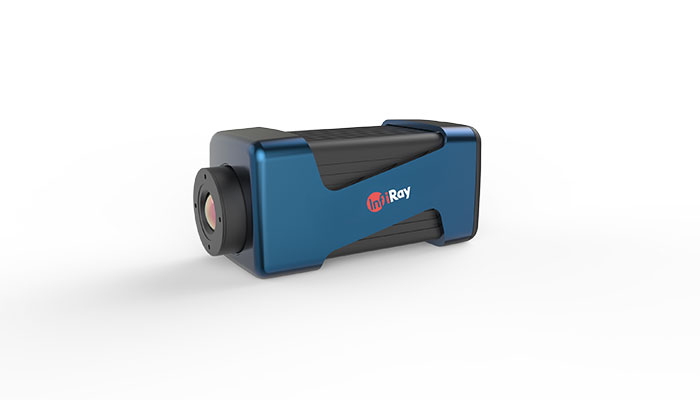
Support automatic focusing: differentiate tiny targets of defects
Smart temperature compensation algorithm: accurately identify the root cause of defects
Provide SDK: support secondary development
AT1280 Electric Focusing Online Temperature Measurement Thermal Camera
Visualize Temperature, To See and To Analyze
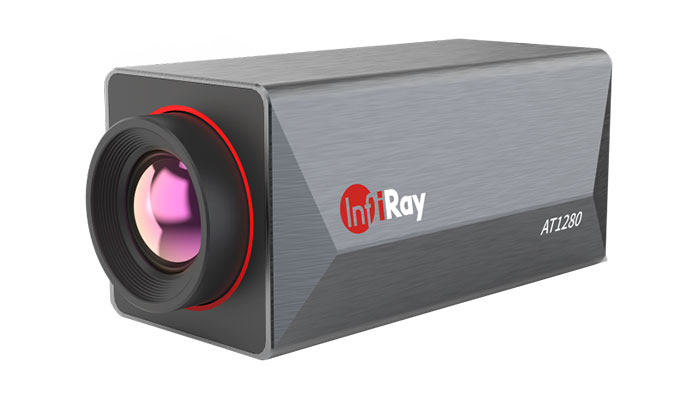
1.3-megapixel: perfectly thermal images to visualize the temperature
1280×1024 full-screen measurement: richer temperature details
Real-time temperature monitoring and abnormality pre-warning: easy sharing of analysis and alarm results
M600 Handheld Thermal camera
Check Clearly, Solve Quickly
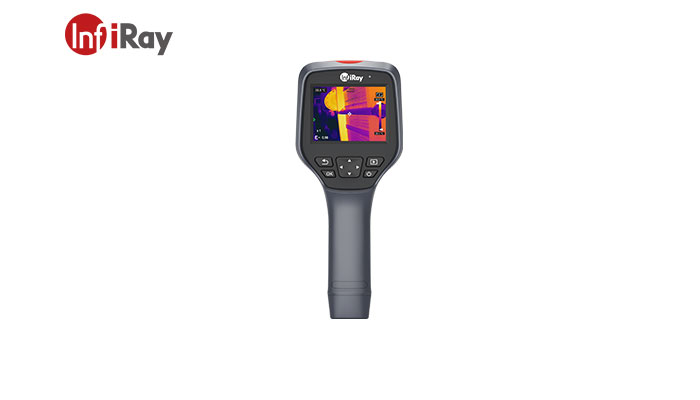
High resolution and high frame rate: high accuracy and wide range
Plug and analyze: support full-frame real-time transmission and analysis of temperature information
Support full-frame high/low-temperature alarm: Timed photographing
IV. System Software
It is recommended to use with InfiRay® professional temperature measurement and monitoring system
1. Real-time transmission of onsite status temperature data and image data is supported, implementing quick and efficient material testing.
2. The temperature data of the point, line, and area is displayed, and the system can display the abnormal temperature without affecting the measured object, so users can directly observe the problem and accurately locate the problem. The surface defects of the material are clearly revealed.
3. The image data with temperature can be stored on the back end for secondary analysis, making the application more flexible and reducing the use cost.
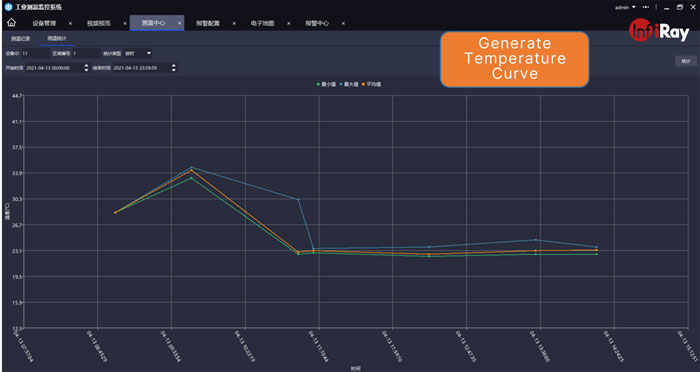
4. Automatically generates curves of temperature data and temperature reports for effective monitoring of changes in the measured material temperature.
V. How Can I Produce an Excellent Thermal Image?
Please refer to the following suggestions for using a thermal camera to produce an excellent thermal image:
1. Set the right reflectance based on the material to ensure measurement accuracy.
2. Choose thermal cameras with high thermal sensitivity for scenarios with a small regional temperature difference.
3. Select thermal cameras or levels of proper measurement ranges for different scenarios and temperature.
4. Use automatic measurement first, and then enable the temperature width stretch function. Manually set the temperature width to the minimum and include the previously measured temperature range to enrich the image details.

 français
  Deutsch
  Español
  italiano
  русский
  português
  العربية
  日本語
日本語  한국어
한국어  magyar


